跳至主要内容

在代码空间中使用源代码管理

在代码空间中对文件进行更改后,您可以快速提交更改并将更新推送到远程存储库。

备注

  • 目前,在 JetBrains IDE 中使用 GitHub 代码空间处于公开测试阶段,可能会发生变化。
  • 要在 JetBrains IDE 中使用 codespace,您必须使用 JetBrains Gateway 的 2023.3.* 或 2024.1.* 版本。

关于 GitHub Codespaces 中的源代码管理

您可以在 codespace 中直接执行所有需要的 Git 操作。例如,您可以从远程仓库获取更改、切换分支、创建新分支、提交和推送更改以及创建拉取请求。您可以使用 codespace 中的集成终端输入 Git 命令,也可以单击图标和菜单选项来完成所有最常见的 Git 任务。本指南介绍如何使用图形用户界面进行源代码管理。

有关 Visual Studio Code 中 Git 支持的更多信息,请参阅 Visual Studio Code 文档中的“在 VS Code 中使用版本控制”。

Visual Studio Code Web 客户端中的源代码管理使用与 Visual Studio Code 桌面应用程序相同的流程。有关更多信息,请参阅 Visual Studio Code 文档中的“在 VS Code 中使用版本控制”。

使用 GitHub Codespaces 更新文件的典型流程如下

  • 从 GitHub 上您仓库的默认分支创建 codespace。请参阅“为仓库创建 codespace”。
  • 在您的 codespace 中,创建一个新分支来进行工作。
  • 进行更改并保存。
  • 提交更改。
  • 发起拉取请求。

注意:默认情况下,GitHub Codespaces 使用 HTTPS 协议将数据传输到远程仓库并从远程仓库传输数据,并使用配置有读写权限的 GITHUB_TOKEN 进行身份验证,该权限用于您创建 codespace 的仓库。如果您在身份验证方面遇到问题,请参阅“对仓库进行身份验证故障排除”。

关于自动分叉

要为您只有读取权限的仓库创建 codespace,您必须有权分叉该仓库。

您无需在创建 codespace 之前分叉仓库。例如,您可以从仓库创建 codespace 来查看项目并进行实验性更改,然后在不再需要时删除 codespace。

如果您从 codespace 中提交代码,或推送新的分支,GitHub Codespaces 就会在您的帐户下创建该仓库的分支并将其链接到您的 codespace,或者如果您已经为该仓库创建了分支,则会将您的 codespace 链接到您现有的分支。然后,您可以将更改推送到分支并创建拉取请求,以向上游仓库提出更改建议。

如果您从命令行提交代码,您会看到一个提示,询问您是否要继续将您的 codespace 链接到新的或现有的分支。输入 y 继续。如果您从 VS Code 的 **源代码管理** 视图或 JetBrains IDE 的导航栏中提交更改,您的 codespace 会自动链接到分支,而不会提示您。

备注

  • 如果您删除了您的分支仓库,那么与该分支链接的任何 codespace 都会被删除,即使您最初是从上游仓库创建的。
  • 如果您从命令行提交代码并通过输入 n 拒绝新的分支,您应该从命令行而不是从 VS Code 的源代码管理视图中推送更改。如果您使用源代码管理视图,VS Code 仍然会尝试在推送时为您创建分支。

当 GitHub Codespaces 创建分支或将您的 codespace 链接到现有分支时,会发生以下情况。

  • 与您的 codespace 关联的访问令牌将更新为包含对您的分支的 readwrite 权限,以及对上游仓库的 read 权限。
  • 在您的 Git 设置中,上游仓库将重新分配给名称 upstream,并且分支将作为新的远程仓库添加到名称 origin 下。

默认情况下,您从编辑器用户界面访问的源代码管理命令(例如 VS Code 中的 **同步更改** 按钮)会针对您的分支。如果您从命令行工作,可以使用 origin 来引用您的分支,使用 upstream 来引用上游仓库。例如,您可以从上游仓库获取更改,以确保您的 codespace 与项目的最新更改保持同步。

git fetch upstream

当您进行了一些更改后,您可以将它们推送到您的分支的功能分支。

git push origin my-feature-branch

有关更多信息,请参阅 "关于分支."

发布从模板创建的 codespace

当您从模板库或“您的代码空间”页面上的模板创建代码空间时,您所做的工作不会存储在 GitHub 上的库中,直到您发布代码空间。有关更多信息,请参阅“从模板创建代码空间”。

如果您在代码空间中工作,您可以从 VS Code 网页客户端或桌面应用程序发布它。

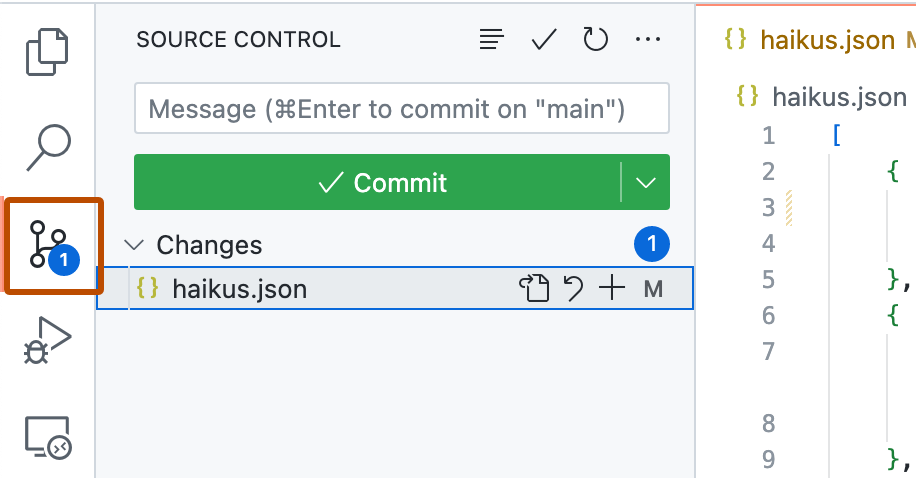
  1. 在活动栏中,单击 **源代码管理** 视图。

    Screenshot of the VS Code Activity Bar with the source control button highlighted with an orange outline.

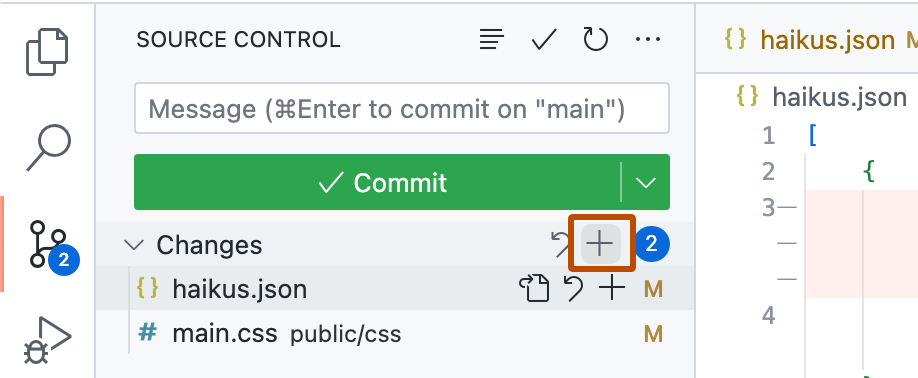
  2. 要暂存更改,请单击您添加或更改的文件旁边的 **+**,或者如果您更改了多个文件并希望暂存所有文件,请单击 **更改** 旁边的 **+**。

    Screenshot of the "Source control" side bar with the staging button (a plus sign), to the right of "Changes," highlighted with a dark orange outline.

    **注意:**如果您从 GitHub 的空白模板开始,除非您已将目录初始化为 Git 库,否则您将不会看到更改列表。要发布从空白模板创建的代码空间,请在“源代码管理”视图中单击 **发布到 GitHub**,然后跳到步骤 5。

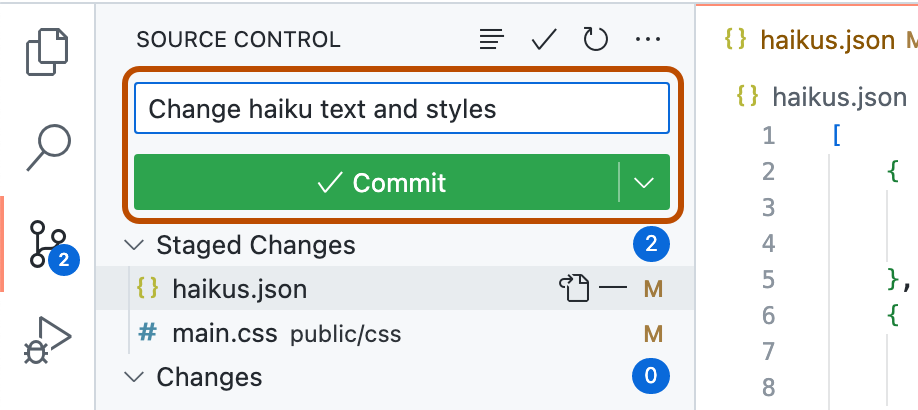
  3. 要提交暂存的更改,请键入描述您所做更改的提交消息,然后单击 **提交**。

    Screenshot of the "Source control" side bar with a commit message and, below it, the "Commit" button both highlighted with a dark orange outline.

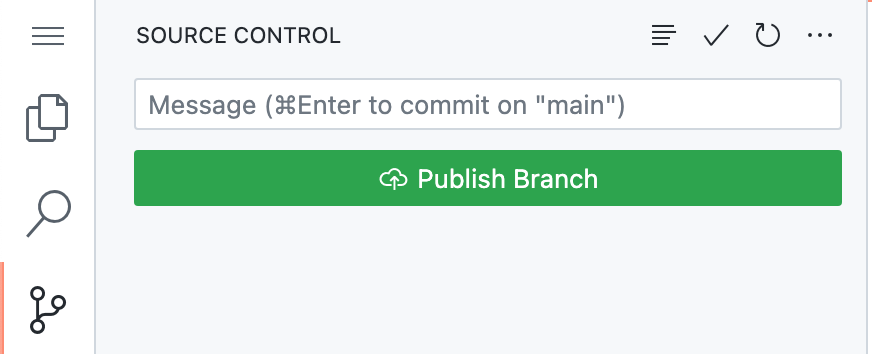
  4. 单击 **发布分支**。

    Screenshot of the "Source control" side bar showing the "Publish Branch" button.

  5. 在“库名称”下拉菜单中,键入新库的名称,然后选择 **发布到 GitHub 私有库** 或 **发布到 GitHub 公开库**。

    Screenshot of the repository name dropdown in VS Code. Two options are shown, for publishing to a private or a public repository.

    新库的所有者将是您创建代码空间的 GitHub 帐户。

  6. 可选地,在编辑器右下角出现的弹出窗口中,单击 **在 GitHub 上打开** 以在 GitHub.com 上查看新库。

    Screenshot of a confirmation message for a successfully published repository, showing the "Open on GitHub" button.

创建或切换分支

  1. 如果当前分支未显示在状态栏中,请在代码空间底部右键单击状态栏,然后选择 **源代码管理**。

  2. 单击状态栏中的分支名称。

    Screenshot of the branch name displayed in the status bar of VS Code.

  3. 在下拉菜单中,单击您要切换到的分支,或输入新分支的名称,然后单击 **创建新分支**。

    Screenshot of the dropdown for creating a new branch in VS Code.

提示:如果有人最近在您切换到的分支的远程仓库中更改了文件,您可能需要将更改拉取到您的代码空间中才能看到这些更改。

提交您的更改

  1. 在活动栏中,单击 **源代码管理** 视图。

    Screenshot of the VS Code Activity Bar with the source control button highlighted with an orange outline.

  2. 要暂存您的更改,请点击 您更改的文件旁边的按钮,或在您更改了多个文件并希望暂存所有文件时,点击更改旁边的按钮。

    Screenshot of the "Source control" side bar with the staging button (a plus sign), to the right of "Changes," highlighted with a dark orange outline.

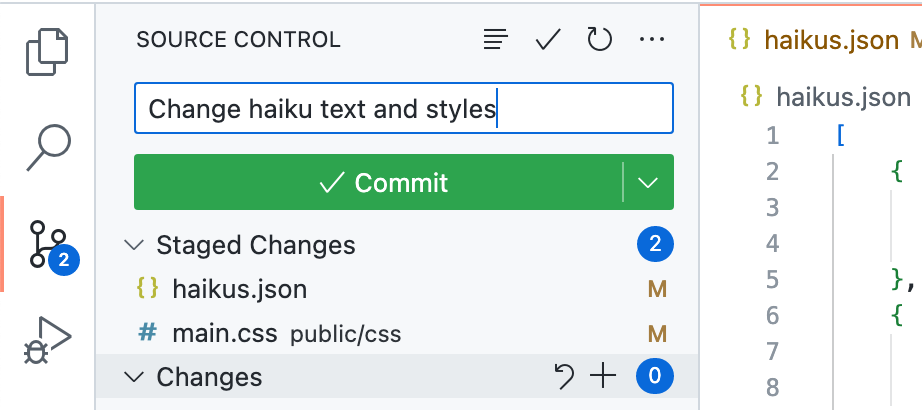
  3. 在文本框中,输入一个提交消息,描述您所做的更改。

    Screenshot of the "Source control" side bar with a commit message entered into the text box above the "Commit" button.

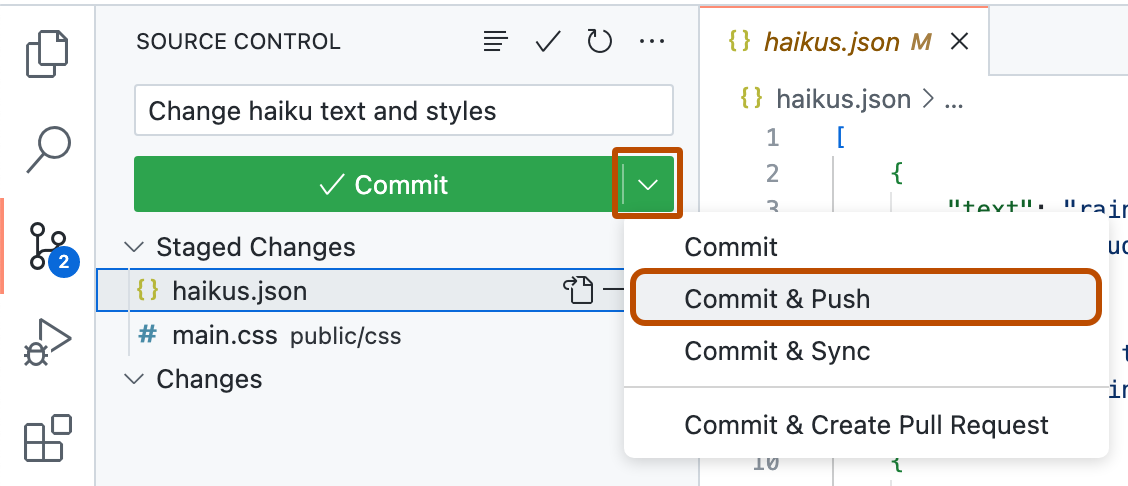
  4. 点击提交按钮右侧的下拉箭头,然后从下拉菜单中选择提交并推送

    Screenshot of the dropdown for the "Commit" button. The option "Commit & Push" is highlighted with a dark orange outline.

从远程仓库拉取更改

您可以随时将远程仓库中的更改拉取到您的代码空间中。

  1. 在活动栏中,单击 **源代码管理** 视图。

    Screenshot of the VS Code Activity Bar with the source control button highlighted with an orange outline.

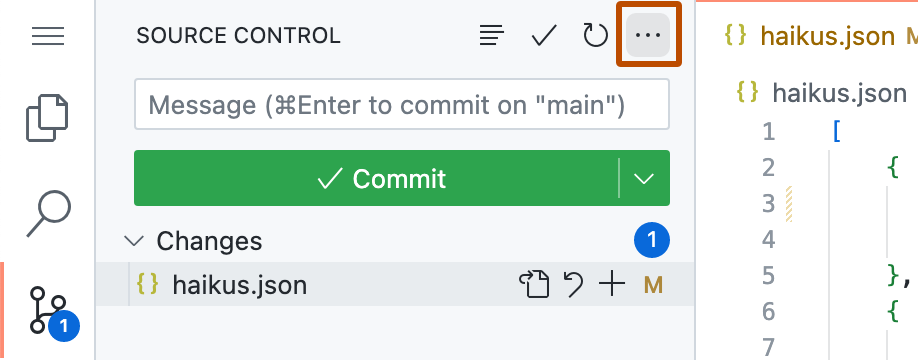
  2. 在侧边栏的顶部,点击 .

    Screenshot of the "Source control" side bar. The ellipsis button (three dots) is highlighted with a dark orange outline.

  3. 在下拉菜单中,点击拉取

如果自您创建代码空间以来,开发容器配置发生了更改,您可以通过重建代码空间的容器来应用这些更改。有关更多信息,请参阅“开发容器简介”。

将您的代码空间设置为自动获取新更改

您可以将您的代码空间设置为自动获取对远程仓库所做的任何新提交的详细信息。这使您可以查看您的本地仓库副本是否已过期,如果是,您可以选择拉取新更改。

如果获取操作检测到远程仓库上的新更改,您将在状态栏中看到新提交的数量。然后,您可以将更改拉取到您的本地副本中。

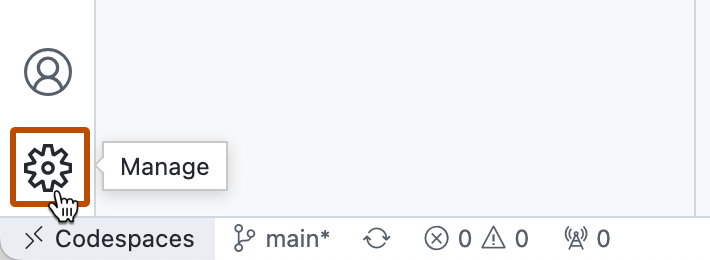
  1. 点击活动栏底部的管理按钮。

    Screenshot of the bottom of the Activity Bar. The Manage button (labeled with a gear symbol) is highlighted with a dark orange outline.

  2. 在菜单中,点击设置

  3. 在设置页面上,搜索:autofetch

    Screenshot of the "Settings" tab. The search text "autofetch" is highlighted with a dark orange outline.

  4. 要获取当前仓库注册的所有远程仓库的更新详细信息,请将Git: 自动获取设置为all

    Screenshot of the "Git: Autofetch" setting, set to "all."

  5. 如果您想更改每次自动获取之间的秒数,请编辑Git: 自动获取周期的值。

发起拉取请求

  1. 在您将更改提交到本地仓库副本后,点击“源代码管理”侧边栏顶部的拉取请求图标。

    Screenshot of the top of the "Source Control" side bar. The pull request icon is highlighted with a dark orange outline.

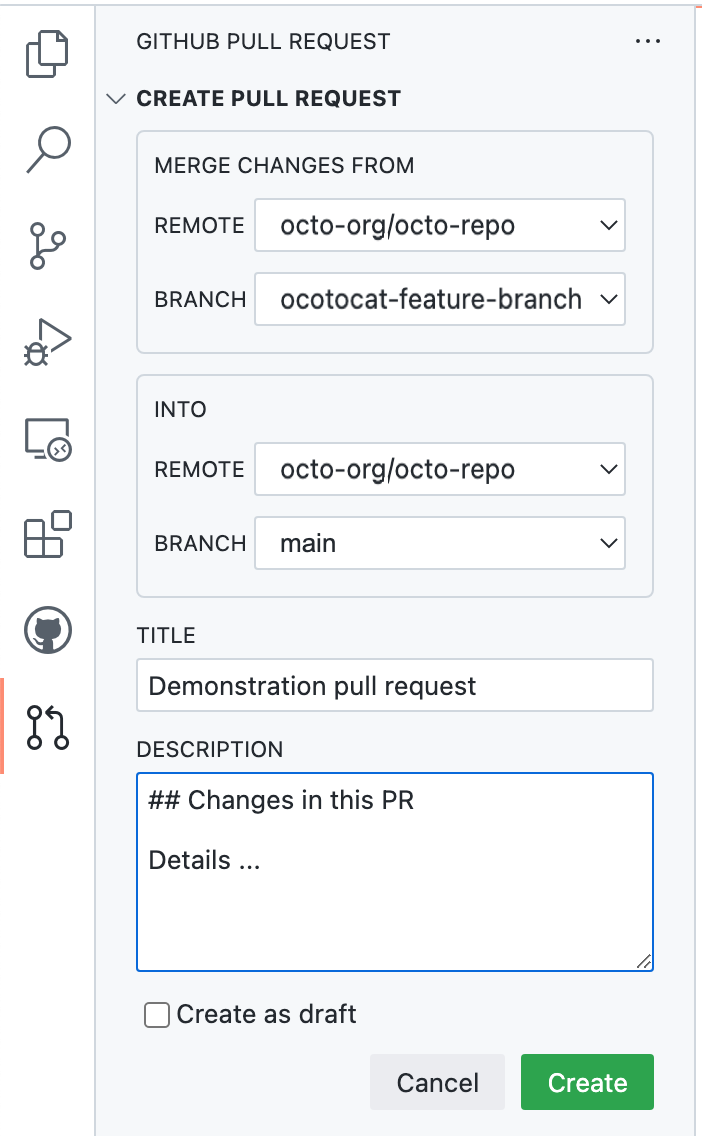
  2. 检查您要从中合并的本地分支和存储库,以及您要合并到的远程分支和存储库是否正确。然后为拉取请求添加标题和描述。

    Screenshot of the "GitHub Pull Request" side bar with a form for creating a pull request, including "Title" and "Description" fields.

  3. 点击创建

将更改推送到您的远程存储库

您可以推送已保存和提交的更改。这会将这些更改应用到远程存储库上的上游分支。如果您还没有准备好创建拉取请求,或者您更喜欢在 GitHub 上创建拉取请求,您可能需要这样做。

  1. 在侧边栏的顶部,点击 .

    Screenshot of the "Source control" side bar. The ellipsis button (three dots) is highlighted with a dark orange outline.

  2. 在下拉菜单中,点击推送

创建或切换分支

  1. 点击状态栏右侧的分支名称。

    Screenshot of the status bar, with the tooltip for the branch name displayed. The branch icon and name, "main," are highlighted with a dark orange outline.

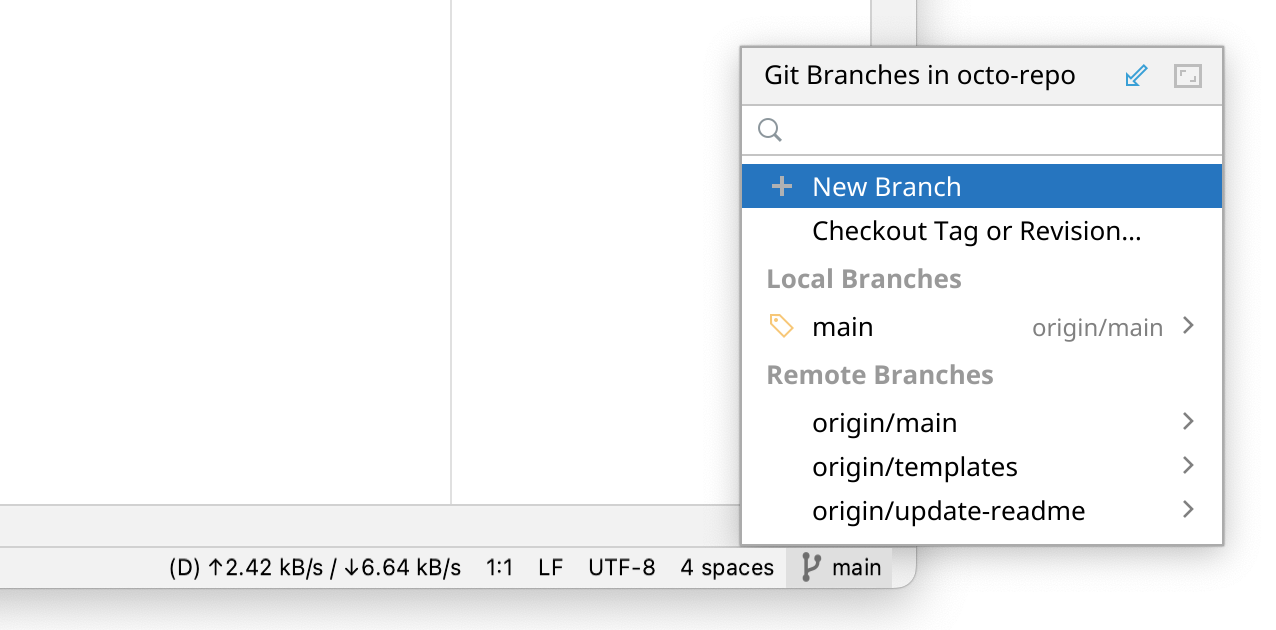
  2. 在弹出菜单中,执行以下操作之一

    • 要基于当前分支创建新分支,点击新建分支

      Screenshot of the branches pop-up menu with the "New Branch" option selected.

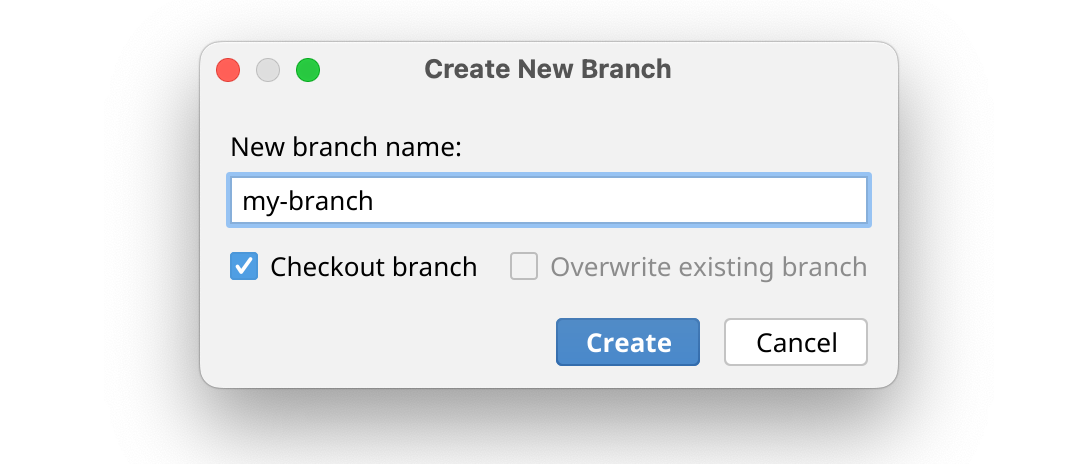
      输入新分支的名称,然后点击创建

      Screenshot of the "Create New Branch" dialog, with "Create" and "Cancel" buttons. "my-branch" has been entered as a branch name.

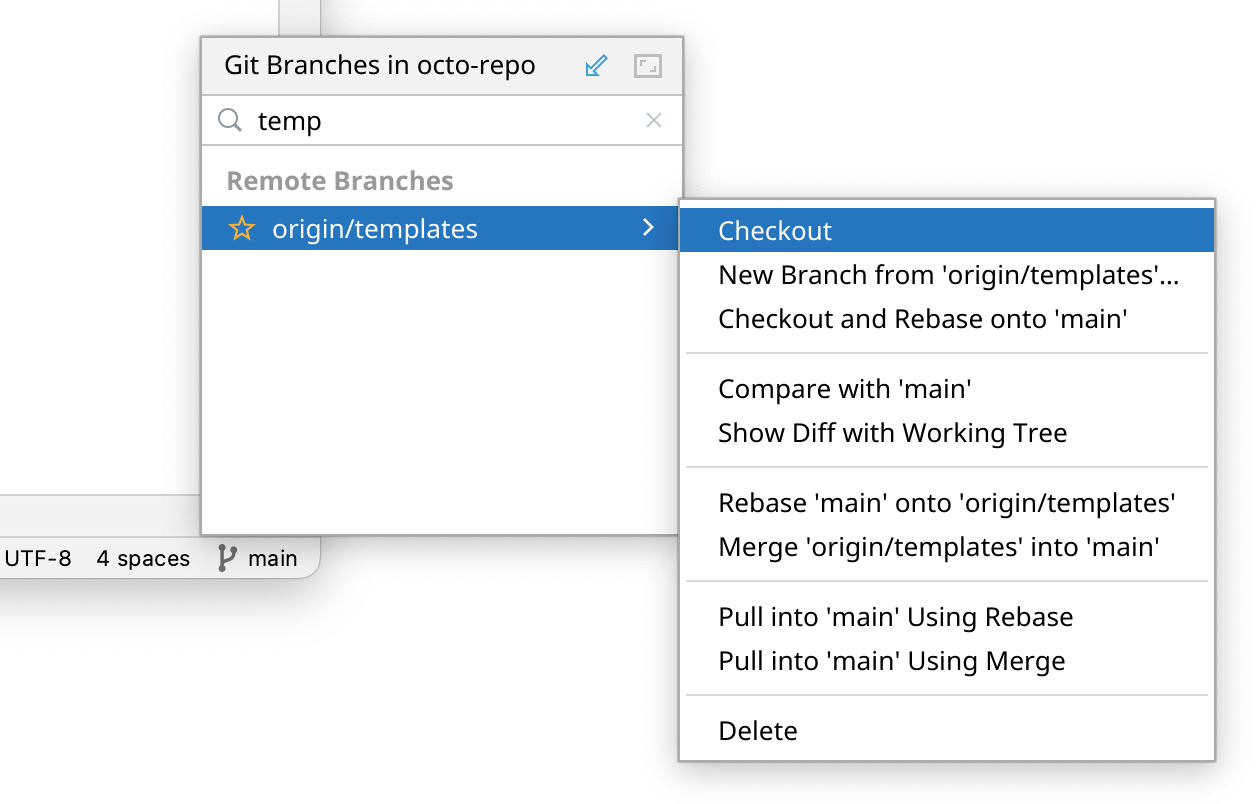
    • 要检出现有分支,开始输入要检出的分支的名称。从列表中点击分支,然后点击检出

      Screenshot of the branches pop-up menu with the "origin/templates" branch selected and "Checkout" selected in the submenu.

      提示:如果有人最近在您切换到的分支的远程仓库中更改了文件,您可能需要将更改拉取到您的代码空间中才能看到这些更改。

提交您的更改

  1. 在导航栏的右侧,点击勾号。

    Screenshot of the navigation bar at the top of the JetBrains client. The check mark icon for committing your changes is highlighted.

  2. 在“提交更改”对话框中,输入提交消息。

  3. 点击提交

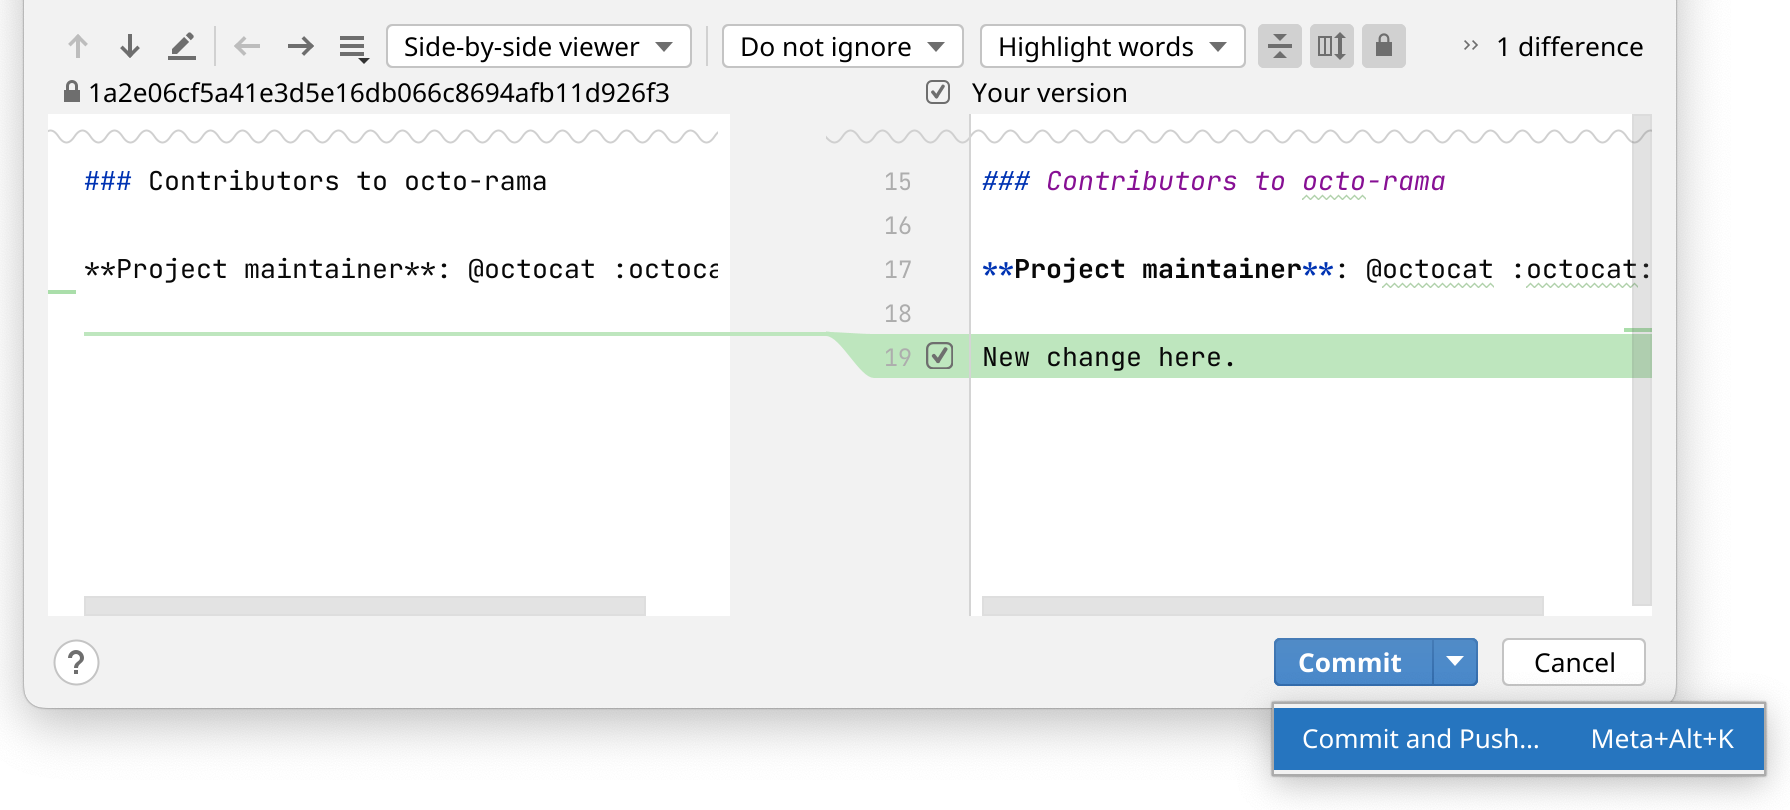
    或者,点击提交旁边的向下箭头,然后点击提交并推送

    Screenshot of the "Commit Changes" dialog showing the "Commit and Push" button.

从远程仓库拉取更改

您可以从远程存储库上的同一分支拉取更改,并将这些更改应用到您在代码空间中使用的存储库副本。

  1. 在导航栏的右侧,点击向下指向的箭头。

    Screenshot of the navigation bar at the top of the JetBrains client. The downward arrow icon is highlighted with a dark orange outline.

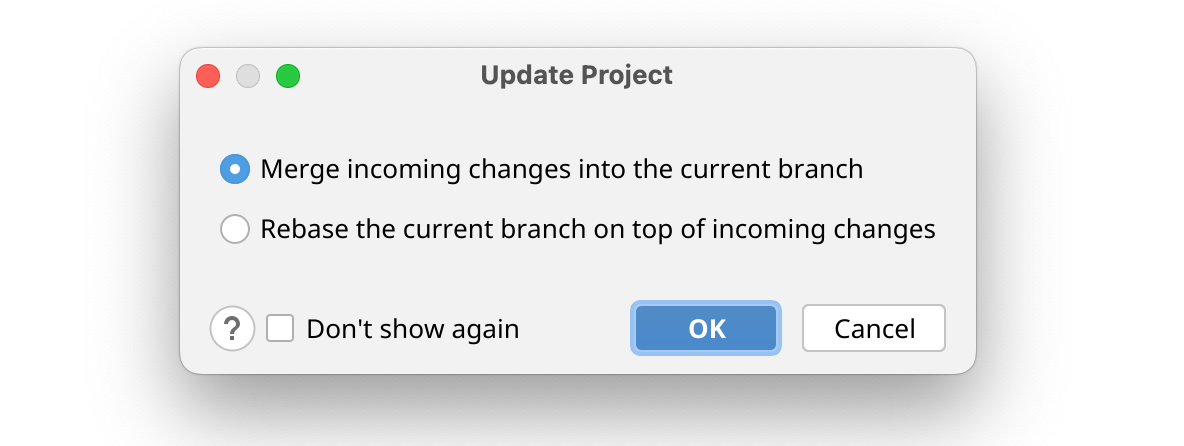
  2. 在“更新项目”对话框中,选择是要合并还是变基传入的更改。

    Screenshot of the "Update Project" dialog with options to merge or rebase, and a "Don't show again" checkbox.

  3. 点击确定

将更改推送到您的远程存储库

您可以推送已保存和提交的更改。这会将这些更改应用到远程存储库上的上游分支。如果您还没有准备好创建拉取请求,或者您更喜欢在 GitHub 上创建拉取请求,您可能需要这样做。

  1. 在导航栏的右侧,点击向上指向的箭头。

    Screenshot of the navigation bar at the top of the JetBrains client. The upward arrow icon is highlighted with a dark orange outline.

  2. 在“推送提交”对话框中,点击推送