简介
在本指南中,您将从模板代码库创建 Codespace,并探索 Codespace 中可用的某些基本功能。您将在浏览器版本的 Visual Studio Code 中工作,这是 GitHub Codespaces 的初始默认编辑器。试用此快速入门后,您可以在其他编辑器中使用 Codespaces,并且可以更改默认编辑器。本指南末尾提供了相关链接。
通过本快速入门,您将学习如何创建 Codespace、连接到转发的端口以查看正在运行的应用程序、将 Codespace 发布到新的代码库以及使用扩展个性化设置。
有关 GitHub Codespaces 的工作原理的更多信息,请参阅配套指南“深入了解 GitHub Codespaces”。
创建 Codespace
-
导航到 github/haikus-for-codespaces 模板代码库。
-
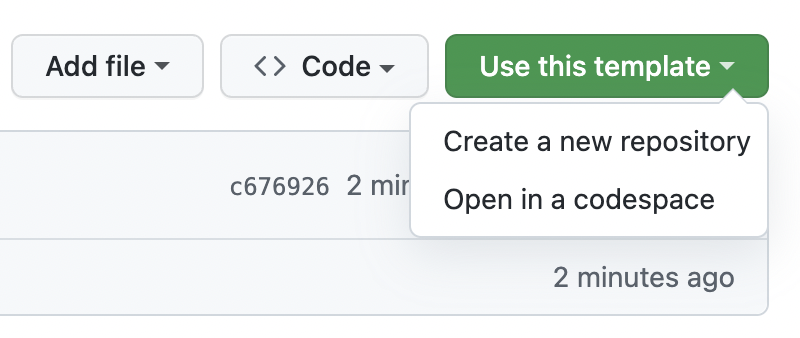
单击**使用此模板**,然后单击**在 Codespace 中打开**。
运行应用程序
创建 Codespace 后,模板代码库将自动克隆到其中。现在,您可以运行应用程序并在浏览器中启动它。
-
当终端可用时,输入命令
npm run dev。此示例使用 Node.js 项目,此命令运行package.json文件中标记为“dev”的脚本,该脚本启动样本代码库中定义的 Web 应用程序。
如果您正在使用其他应用程序类型,请输入该项目的相应启动命令。
-
应用程序启动后,Codespace 会识别应用程序正在运行的端口,并显示弹出消息以告知您端口已转发。

-
单击**在浏览器中打开**以在新选项卡中查看正在运行的应用程序。
编辑应用程序并查看更改
-
切换回 Codespace 并通过在资源管理器中单击打开
haikus.json文件。 -
编辑第一个俳句的
text字段,以使用您自己的俳句个性化应用程序。 -
返回浏览器中正在运行的应用程序选项卡并刷新以查看更改。
如果您已关闭浏览器选项卡,请单击 VS Code 中的“端口”选项卡,将鼠标悬停在正在运行的端口的**本地地址**值上,然后单击**在浏览器中打开**图标。

提交和推送更改
现在您已经进行了一些更改,您可以使用集成终端或源代码视图将您的工作发布到新的代码仓库。
-
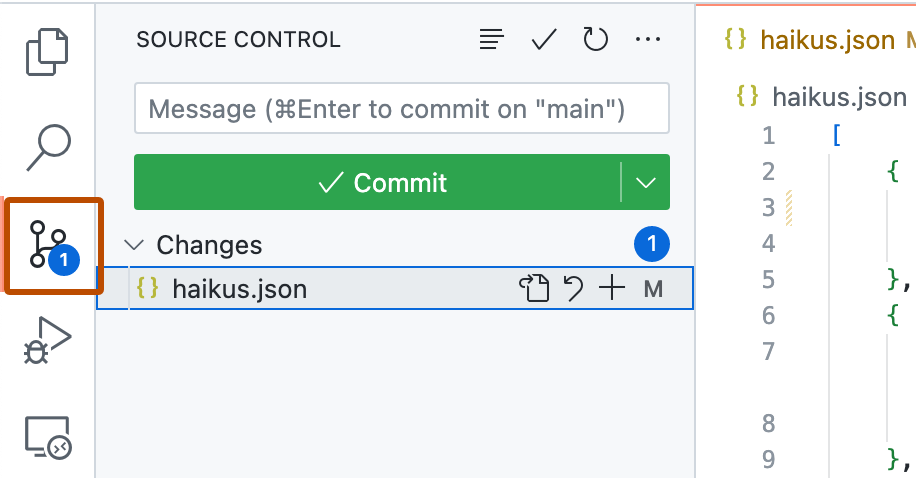
在活动栏中,单击**源代码管理**视图。
-
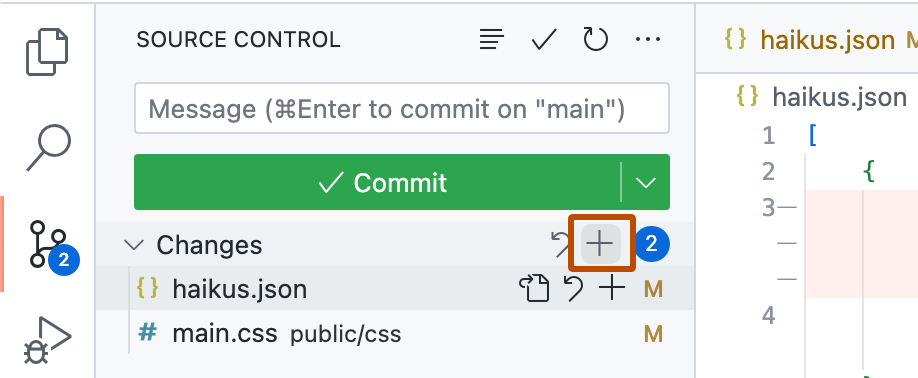
要暂存您的更改,请单击`haikus.json` 文件旁边的按钮,或者如果您更改了多个文件并希望全部暂存,则单击**更改**旁边的按钮。
-
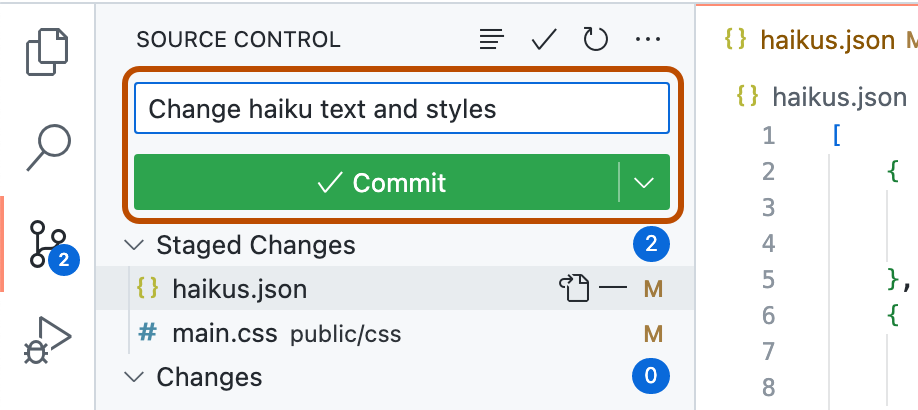
要提交您已暂存的更改,请键入描述您所做更改的提交消息,然后单击**提交**。
-
单击**发布分支**。
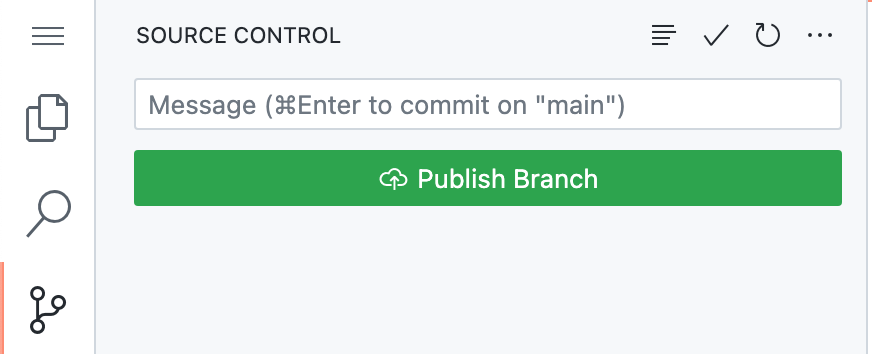
-
在“代码仓库名称”下拉菜单中,键入新代码仓库的名称,然后选择**发布到 GitHub 私有代码仓库**或**发布到 GitHub 公共代码仓库**。

新代码仓库的所有者将是您用来创建 codespace 的 GitHub 帐户。
-
在编辑器右下角出现的弹出窗口中,单击**在 GitHub 上打开**以查看 GitHub 上的新代码仓库。在新代码仓库中,查看`haikus.json` 文件,并检查您在 codespace 中所做的更改是否已成功推送到代码仓库。

使用扩展个性化
当您使用浏览器或 Visual Studio Code 桌面应用程序连接到 codespace 时,您可以直接从编辑器访问 Visual Studio Code 市场。在此示例中,您将安装一个更改主题的 VS Code 扩展,但您可以安装任何对您的工作流程有用的扩展。
-
在活动栏中,单击扩展图标。
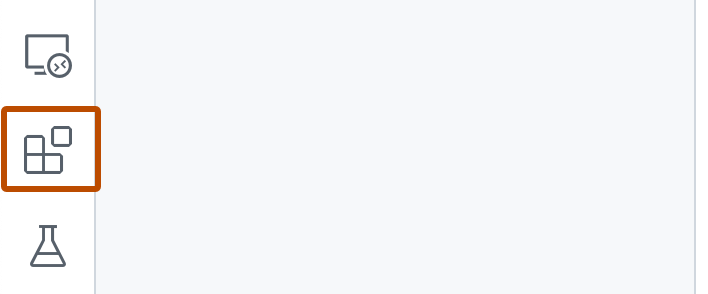
-
在搜索栏中,键入`fairyfloss` 并单击**安装**。
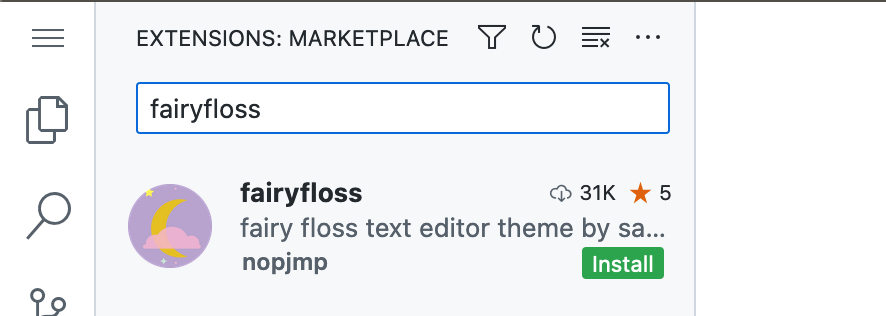
-
从列表中选择`fairyfloss` 主题。

关于设置同步
您可以启用设置同步,以便在设备和 VS Code 实例之间同步扩展和其他设置。您同步的设置缓存在云中。如果在 codespace 中打开了设置同步,则您在 codespace 中对设置所做的任何更新都将推送到云端,而您从其他地方推送到云端的任何更新都将被拉取到您的 codespace 中。有关更多信息,请参阅“为您的帐户个性化 GitHub Codespaces”。
后续步骤
您已成功创建、个性化并运行了您在 codespace 中的第一个应用程序,但还有更多内容等待您探索!以下是一些有关使用 GitHub Codespaces 迈出下一步的有用资源。
- "深入了解 GitHub Codespaces": 此快速入门介绍了 GitHub Codespaces 的一些功能。深入探讨将从技术角度探讨这些领域。
- "将开发容器配置添加到您的代码仓库": 这些指南提供了有关设置代码仓库以使用特定语言的 GitHub Codespaces 的信息。
- "开发容器简介": 本指南详细介绍了为您的项目创建 Codespaces 的自定义配置。