简介
本指南向您展示如何将 PowerShell 用于 CI。它描述了如何使用 Pester、安装依赖项、测试您的模块以及发布到 PowerShell 库。
GitHub 托管的运行器具有一个包含预安装软件的工具缓存,其中包括 PowerShell 和 Pester。
有关最新软件的完整列表以及 PowerShell 和 Pester 的预安装版本,请参阅“使用 GitHub 托管的运行器”。
先决条件
您应该熟悉 YAML 和 GitHub Actions 的语法。有关更多信息,请参阅“编写工作流”。
我们建议您对 PowerShell 和 Pester 有基本的了解。有关更多信息,请参阅
为 Pester 添加工作流
要使用 PowerShell 和 Pester 自动执行测试,您可以添加一个工作流,该工作流在每次将更改推送到存储库时运行。在以下示例中,Test-Path 用于检查是否存在名为 resultsfile.log 的文件。
此示例工作流文件必须添加到存储库的 .github/workflows/ 目录中
name: Test PowerShell on Ubuntu
on: push

jobs:
  pester-test:
    name: Pester test
    runs-on: ubuntu-latest
    steps:
      - name: Check out repository code
        uses: actions/checkout@v4
      - name: Perform a Pester test from the command-line
        shell: pwsh
        run: Test-Path resultsfile.log | Should -Be $true
      - name: Perform a Pester test from the Tests.ps1 file
        shell: pwsh
        run: |
          Invoke-Pester Unit.Tests.ps1 -Passthru
-
shell: pwsh- 将作业配置为在运行run命令时使用 PowerShell。 -
run: Test-Path resultsfile.log- 检查存储库根目录中是否存在名为resultsfile.log的文件。 -
Should -Be $true- 使用 Pester 定义预期结果。如果结果出乎意料,则 GitHub Actions 会将其标记为失败的测试。例如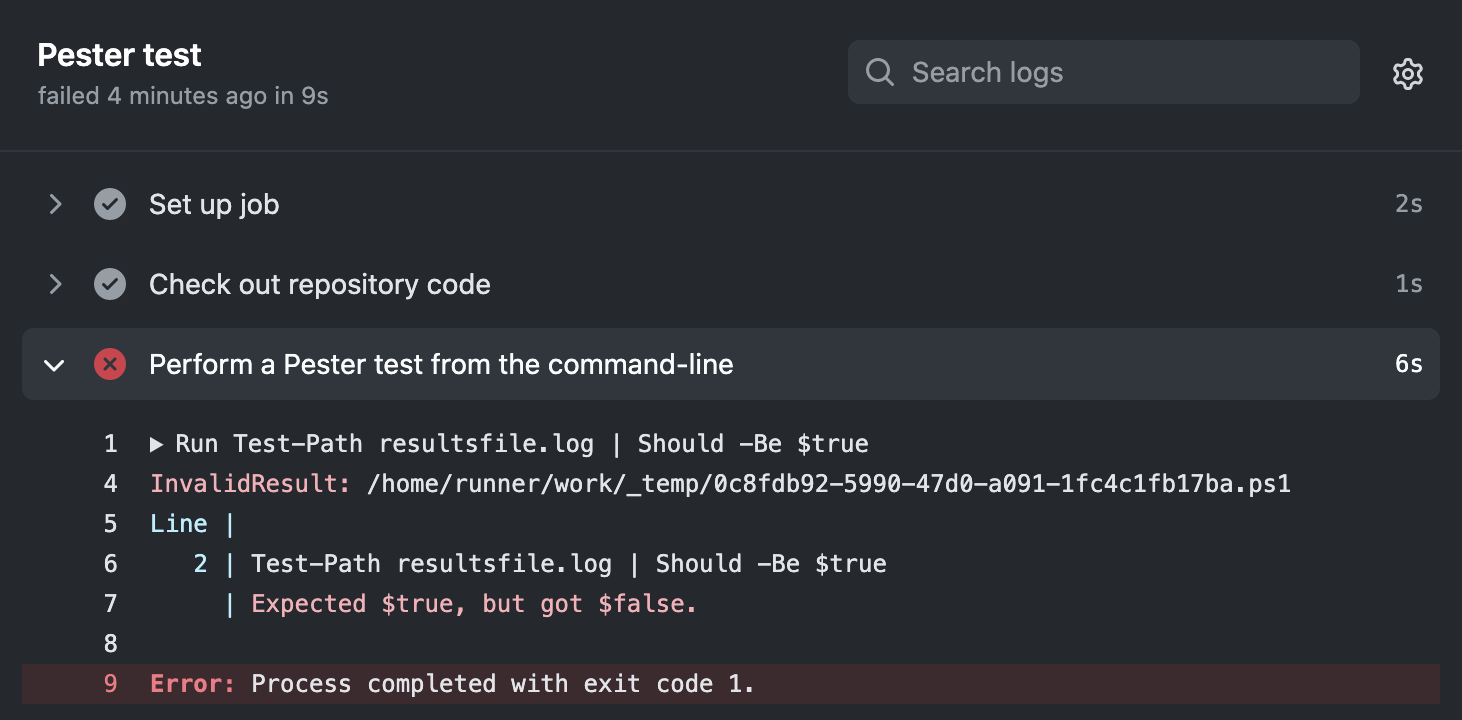
-
Invoke-Pester Unit.Tests.ps1 -Passthru- 使用 Pester 执行在名为Unit.Tests.ps1的文件中定义的测试。例如,要执行上面描述的相同测试,Unit.Tests.ps1将包含以下内容Describe "Check results file is present" { It "Check results file is present" { Test-Path resultsfile.log | Should -Be $true } }

PowerShell 模块位置
下表描述了每个 GitHub 托管运行器中各种 PowerShell 模块的位置。
| Ubuntu | macOS | Windows | |
|---|---|---|---|
| PowerShell 系统模块 | /opt/microsoft/powershell/7/Modules/* | /usr/local/microsoft/powershell/7/Modules/* | C:\program files\powershell\7\Modules\* |
| PowerShell 附加模块 | /usr/local/share/powershell/Modules/* | /usr/local/share/powershell/Modules/* | C:\Modules\* |
| 用户安装的模块 | /home/runner/.local/share/powershell/Modules/* | /Users/runner/.local/share/powershell/Modules/* | C:\Users\runneradmin\Documents\PowerShell\Modules\* |
注意
在 Ubuntu 运行器上,Azure PowerShell 模块存储在/usr/share/中,而不是 PowerShell 附加模块的默认位置(即/usr/local/share/powershell/Modules/)。
安装依赖项
GitHub 托管的运行器已安装 PowerShell 7 和 Pester。您可以在构建和测试代码之前,使用Install-Module从 PowerShell 库安装其他依赖项。
注意
GitHub 托管的运行器使用的预安装软件包(例如 Pester)会定期更新,并且可能会引入重大更改。因此,建议您始终使用带有-MaximumVersion的Install-Module指定所需的软件包版本。
您还可以缓存依赖项以加快工作流程速度。有关更多信息,请参阅“缓存依赖项以加快工作流程速度”。
例如,以下作业安装了SqlServer和PSScriptAnalyzer模块
jobs:
  install-dependencies:
    name: Install dependencies
    runs-on: ubuntu-latest
    steps:
      - uses: actions/checkout@v4
      - name: Install from PSGallery
        shell: pwsh
        run: |
          Set-PSRepository PSGallery -InstallationPolicy Trusted
          Install-Module SqlServer, PSScriptAnalyzer
注意
默认情况下,PowerShell 不信任任何存储库。从 PowerShell 库安装模块时,必须将PSGallery的安装策略显式设置为Trusted。
缓存依赖项
您可以使用唯一的键缓存 PowerShell 依赖项,这使您能够使用cache操作为将来的工作流程恢复依赖项。有关更多信息,请参阅“缓存依赖项以加快工作流程速度”。
PowerShell 会将其依赖项缓存到不同的位置,具体取决于运行器的操作系统。例如,以下 Ubuntu 示例中使用的path位置在 Windows 操作系统中将有所不同。
steps:
  - uses: actions/checkout@v4
  - name: Setup PowerShell module cache
    id: cacher
    uses: actions/cache@v3
    with:
      path: "~/.local/share/powershell/Modules"
      key: ${{ runner.os }}-SqlServer-PSScriptAnalyzer
  - name: Install required PowerShell modules
    if: steps.cacher.outputs.cache-hit != 'true'
    shell: pwsh
    run: |
      Set-PSRepository PSGallery -InstallationPolicy Trusted
      Install-Module SqlServer, PSScriptAnalyzer -ErrorAction Stop
测试您的代码
您可以使用与本地相同的命令来构建和测试代码。
使用 PSScriptAnalyzer 对代码进行 lint
以下示例安装了PSScriptAnalyzer并使用它来对存储库中的所有ps1文件进行 lint。有关更多信息,请参阅GitHub 上的 PSScriptAnalyzer。
  lint-with-PSScriptAnalyzer:
    name: Install and run PSScriptAnalyzer
    runs-on: ubuntu-latest
    steps:
      - uses: actions/checkout@v4
      - name: Install PSScriptAnalyzer module
        shell: pwsh
        run: |
          Set-PSRepository PSGallery -InstallationPolicy Trusted
          Install-Module PSScriptAnalyzer -ErrorAction Stop
      - name: Lint with PSScriptAnalyzer
        shell: pwsh
        run: |
          Invoke-ScriptAnalyzer -Path *.ps1 -Recurse -Outvariable issues
          $errors   = $issues.Where({$_.Severity -eq 'Error'})
          $warnings = $issues.Where({$_.Severity -eq 'Warning'})
          if ($errors) {
              Write-Error "There were $($errors.Count) errors and $($warnings.Count) warnings total." -ErrorAction Stop
          } else {
              Write-Output "There were $($errors.Count) errors and $($warnings.Count) warnings total."
          }
将工作流数据打包为工件
您可以在工作流完成后上传工件以进行查看。例如,您可能需要保存日志文件、核心转储、测试结果或屏幕截图。有关更多信息,请参阅“存储和共享工作流数据”。
以下示例演示了如何使用upload-artifact操作来存档从Invoke-Pester接收到的测试结果。有关更多信息,请参阅upload-artifact操作。
name: Upload artifact from Ubuntu

on: [push]

jobs:
  upload-pester-results:
    name: Run Pester and upload results
    runs-on: ubuntu-latest
    steps:
      - uses: actions/checkout@v4
      - name: Test with Pester
        shell: pwsh
        run: Invoke-Pester Unit.Tests.ps1 -Passthru | Export-CliXml -Path Unit.Tests.xml
      - name: Upload test results
        uses: actions/upload-artifact@v4
        with:
          name: ubuntu-Unit-Tests
          path: Unit.Tests.xml
    if: ${{ always() }}
always()函数将作业配置为即使测试失败也继续处理。有关更多信息,请参阅“访问有关工作流运行的上下文信息”。
发布到 PowerShell 库
您可以配置工作流,以便在 CI 测试通过时将您的 PowerShell 模块发布到 PowerShell 库。您可以使用机密来存储发布软件包所需的任何令牌或凭据。有关更多信息,请参阅“在 GitHub Actions 中使用机密”。
以下示例创建了一个软件包并使用Publish-Module将其发布到 PowerShell 库
name: Publish PowerShell Module

on:
  release:
    types: [created]

jobs:
  publish-to-gallery:
    runs-on: ubuntu-latest
    steps:
      - uses: actions/checkout@v4
      - name: Build and publish
        env:
          NUGET_KEY: ${{ secrets.NUGET_KEY }}
        shell: pwsh
        run: |
          ./build.ps1 -Path /tmp/samplemodule
          Publish-Module -Path /tmp/samplemodule -NuGetApiKey $env:NUGET_KEY -Verbose